Drake Accounting®: How do I import information from a spreadsheet?
In Drake Accounting®, you have the option to import spreadsheets for as many clients as desired. Here is an example of how to import employees.
Go to Tools > Spreadsheets.
Select the Import tab at the top.
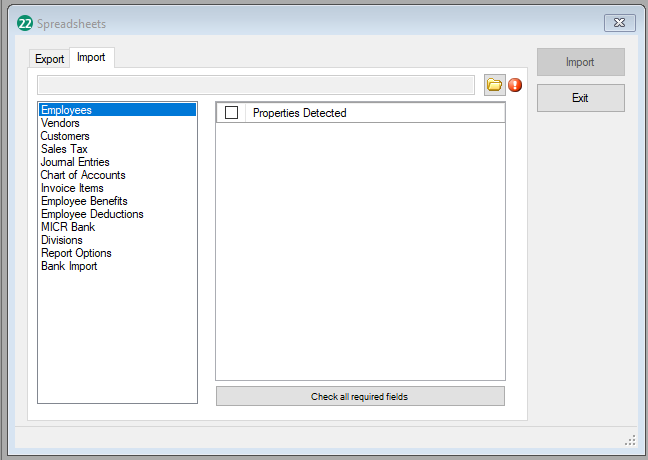
Click Browse and find the .CSV file you wish to import for your client and click Open.
The spreadsheet you wish to import must have the same layout as the blank template in order for the import to be successful.
You are given a list of options that you can import including: Employees, Vendors, Customers, Sales Tax, Journal Entries, Chart of Accounts, Invoice Items, Employee Benefits, Employee Deductions, MICR Bank, Divisions, Report Options, and Bank Import.
Note: When choosing the Bank Import option, transactions may be created from the selected file. These will appear under Accounting > Transactions > Unposted.
You can choose which properties within a group you wish to export in the middle of the window. You can either select each property individually, or you can check the box next to Properties Detected which will select all available properties.
Click Import.
You are given a data preview to make sure that the data about to be imported is correct. You can either select the individual employees you wish to import or you can check the box next to Employee Code to import all of the employees from the spreadsheet.
Click Import when you have finished previewing the spreadsheet data, if the information looks correct.
Once the spreadsheet has been imported, you can now double check the entries within Employee Setup. Go to Employees > Employee Setup.
Go through each employee to double check the entries. If there are any setup items that need to be adjusted, you can make the changes on this screen.
Below are the blank templates you may use to get the correct format to import spreadsheets. After editing, be sure to save the file as a .csv file type.