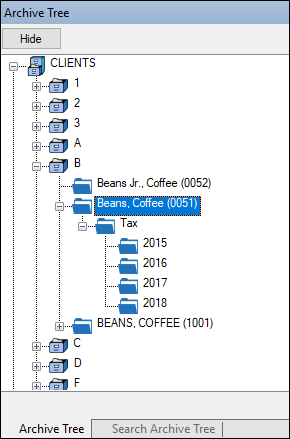
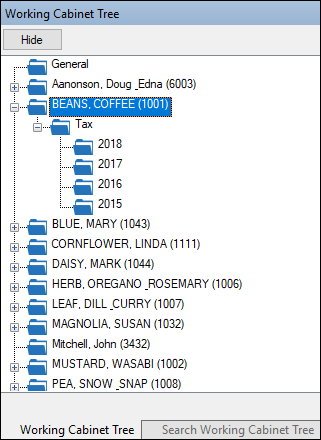
Both the Archive Cabinet and the Working Cabinet display stored files alphabetically in a folder “tree”, shown in both figures, (1) and (2).
You can use the default Drake Documents file structure or customize it as needed. To customize your file structure:
- From the Home window of Drake, go to Setup > Printing > Drake Document to open the "Drake Document Integration Options" dialog box.
- In the middle section of the dialog box is the option to add folders to the default Drake Documents file structure. To do so:
- Click Add.
- Enter a custom folder name.
- Click OK. The new folder is inserted one level below the selected folder.
- Mark the Apply this layout... check box if you want to insert the new folder into existing and new client files; otherwise, the new folder is inserted only into new client files.
- To change the name of a folder, select the folder and click Edit. To delete a folder, select the folder and click Remove.
- Click Save, and then click OK.
Adding Individual Subfolders
Individual subfolders can be added to the Drake integrated file structure of either the Working Cabinet or the Archive Cabinet.
To create additional subfolders for individual client folders, open Drake Documents:
- Highlight the folder in the “tree” that contains the new subfolder.
- Choose one of the following steps:
- Right-click a folder.
- From the toolbar, click New Folder.
- On your keyboard, press F4.
- From the menu bar, select Setup > New Folder.
- Enter a folder name in the "New Folder" dialog box.
- Click OK. The new subfolder appears in the left pane.
Repeat these steps as needed to create more subfolders.
Delete or rename subfolders by selecting them, right-clicking, and then selecting Delete New Folder or Rename New Folder from the menu.