The Client Labels function allows you to print a variety of mailing labels from within a return.
There are two ways to access Client Labels.
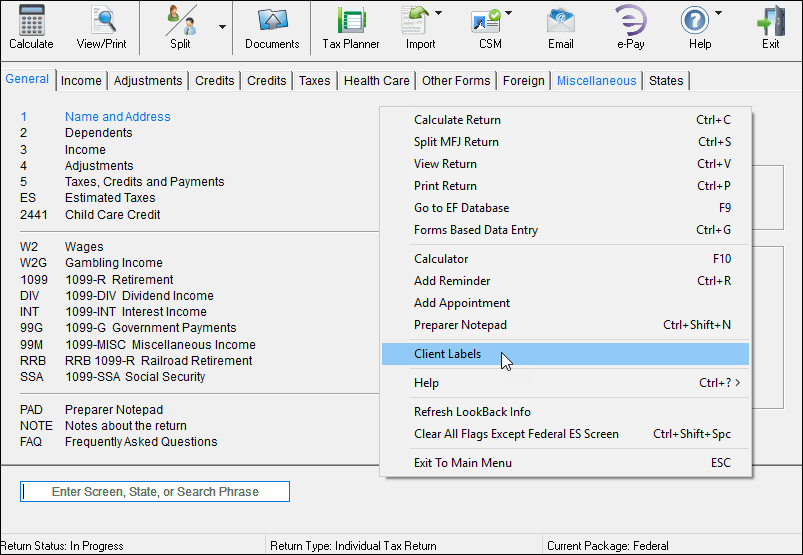
- In Data Entry, right click on any grey portion of the window, then select Client Labels.
- In View/Print, click on the Print dropdown, then select Print Mailing Labels to a Label Printer.
Note
Enable label printing from View/Print by, from the Home page, clicking on Setup>Options>Optional Documents Tab, then checking Labels
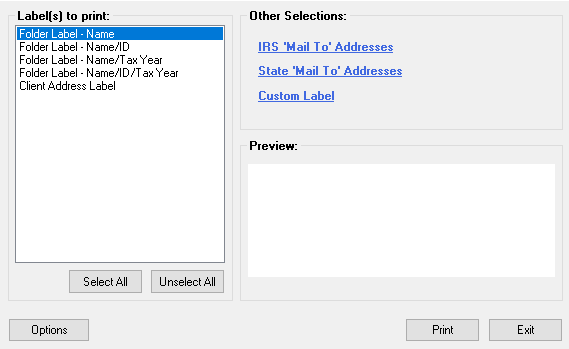
- In the Label(s) to print section, select what kind of label to print.
- In the Other Selections section, select state and federal options or create you own “Mail To” label.
- The Preview section provides an example of the currently selected options.
- Click Options to change the name format.