Use the Drake Scheduler to set up appointments for one preparer or a group of preparers, set daily schedules for an entire office, generate batch appointments, organizers, and proformas, and send email reminders to clients. There are tools for customizing, printing, and exporting schedules. You can also import appointments from Outlook or Google calendars into your Drake Scheduler, or export your Drake schedule to an Outlook or Google calendar.The Scheduler is used to set up appointments for preparers. To use the scheduler, go to Tools > Scheduler or click Scheduler from the main window.
Scheduler Modes
The Scheduler offers two levels of access: Preparer mode and Front Office mode.
Preparer Mode
When using Preparer mode, a preparer has full access to their calendar. Preparers can make appointments, manage schedules, and share calendars with other preparers. Preparer mode is the default setting for Scheduler users.
Front Office Mode
Designed for the receptionist, secretary, or other employee who manages appointments but does not prepare tax returns, Front Office mode allows the user to set up viewing options and manage appointments.
To assign Front Office mode to an employee:
- Log in to Drake Tax as an administrative user and, from the Home window, go to Setup > Preparer(s).
- Select a preparer and click Edit Preparer.
- Click Security > Front Office (Scheduling Only).
- Click Save.
Preparer logins and Front Office assignments must be established in Drake Tax before the Scheduler can be used effectively.
There are several ways to access the Scheduler: from a desktop icon, the Home window toolbar, or the Home window menu bar (Tools > Scheduler). Add new appointments from the Data Entry Menu by right-clicking anywhere on the screen and selecting Add Appointment.
Toolbar Options
- New Appt – opens a new "Appointment Detail" dialog. The New Appointment allows you to create a new appointment and assign preparer(s). If you want to edit or delete an existing appointment, double-click on it to open the "Appointment Detail" dialog.
- Search – opens the "Scheduler Search" dialog. Type in your search term and click Search. Search terms are exact or include information in the following fields:
- Name
- SSN/EIN (no dashes)
- Street (address)
- City
- ST
- ZIP
- Phone (Day)
- Evening
- Cell
- Comments
- Print – opens the Report Viewer with the selected tab’s information (Selected Daily, Weekly, or Preparer views of the calendar). You may be required to enter a specific time range.
- Reports – opens the "Report Manager" dialog.
- Export – exports the selected tab’s information to an excel worksheet. You are required to enter a specific time range.
- Setup – opens the "Scheduler Setup" dialog.
- Batch – opens the Undo or Generate Batch Appointments. This feature reviews the client appointments from the previous tax year, and create a new appointment in the current tax year's scheduler. If you have used the Last Year Data to update the scheduler, this feature may cause duplicate or incorrect information.
- Push/Pull – Allows you to import or export appointments between the Drake Scheduler and your Google Calendar or Outlook Calendar.
- Help – opens the help text for the Scheduler.
- Exit – exits the Scheduler and returns the user to the tax program’s main screen.
Current Calendar Date
Current calendar date displays a month-at-a-glance calendar with the current date selected. Changing the date on the calendar changes the day viewed in the schedule grid and the default appointment date.
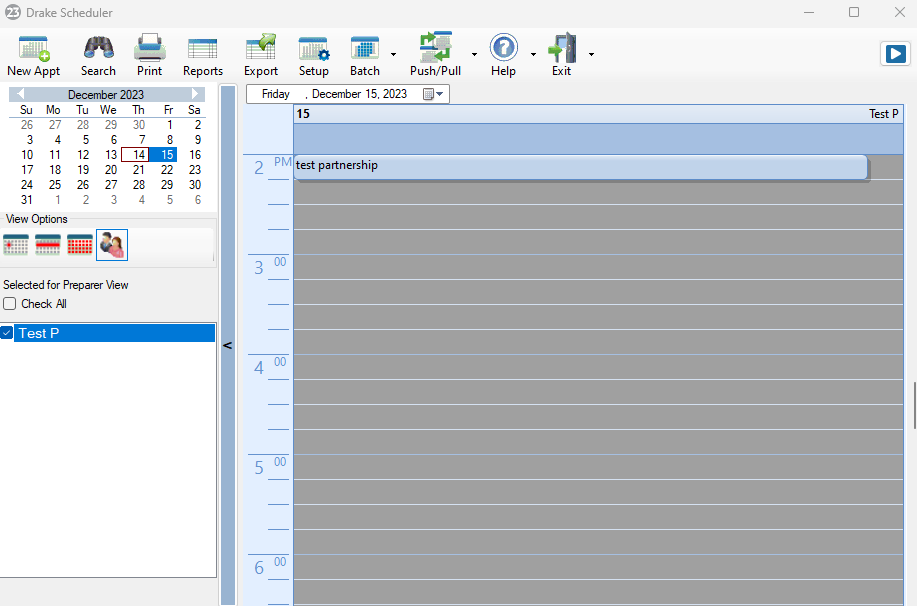
You can change your viewing options on-the-fly. Simply select the corresponding Day, Week, Month, or Preparer icon in the View Options section of the screen.
Note
• Private appointments cannot be seen by anyone other than the assigned preparer.
• A preparer's daily schedule is created in Setup > Preparers. Appointments can be scheduled prior to the preparer having an established schedule. However, it is recommended that the preparer’s schedule exist. The calendar grid for the preparer presents work hours in a different shade, making it easier to identify preparer availability. In addition, the Find Next Appointment feature requires established preparer schedules for its search.
Scheduling Appointments
Preparer's information must be entered in Setup > Preparer(s) before appointments can be scheduled in the Scheduler. Appointments can be scheduled for an individual preparer or group of preparers. For more information, see the instructions for the Appointment Detail.