How do I create a blank fillable organizer for a new client?
To create a blank, fillable PDF organizer for a new client, follow the steps below. See Generating Organizer for more information.
Note: Users have reported issues with the fillable PDF being opened and edited with Google Chrome. When edits are made, changes are not being saved by the browser. This is a compatibility issue with Google Chrome. Please have your client save the PDF locally and open it in another PDF viewer, such as Adobe Reader. This will allow edits to be made, saved, and re-uploaded to the preparer.
1. Select the Last Year Data menu, then select Organizers.

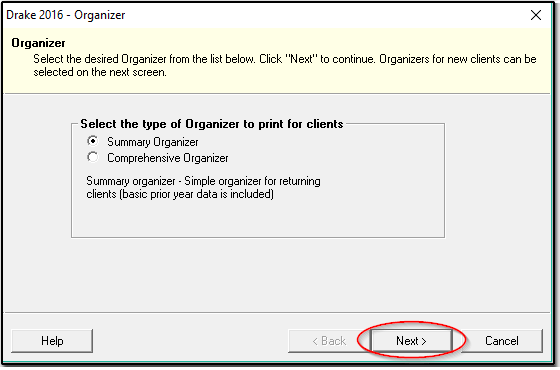
2. Select Summary Organizer or Comprehensive Organizer, then click Next.
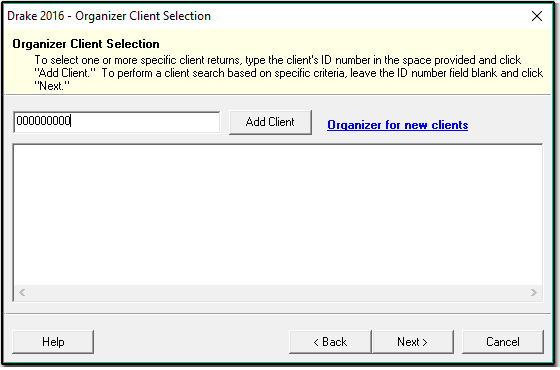
3. Enter the client's SSN, or enter a string of nine zeros (000000000) if unknown, then hit Enter.
Important: If you do not enter a 9-digit number, the process will stop and the window will close.
When you enter a SSN and the taxpayer's name and address, this process creates a prior year data file with the basic demographic information completed. If you do not know the SSN at the time of the organizer creation, and use a string of zeros, you should not update the return from the prior year as it will have the placeholder 000000000 used as the SSN. This would require changing the SSN by using the Tools > File Maintenance > Change ID Number on Return feature, but PPR users will be charged for another PPR if used. Either change the SSN in the prior year before updating, or create a new return without updating the 000000000 file to the current year.
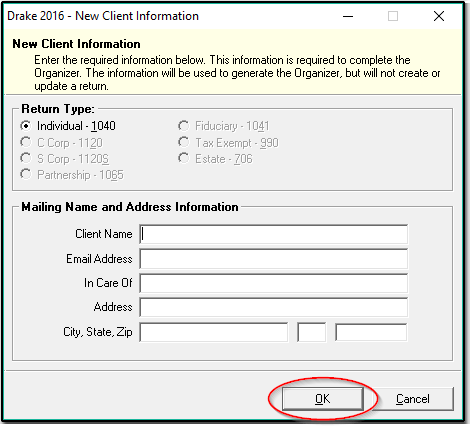
4. You will then have the option to enter the client's basic demographic information. This allows the forms to be customized with the taxpayer's name and address. Click OK at the bottom.
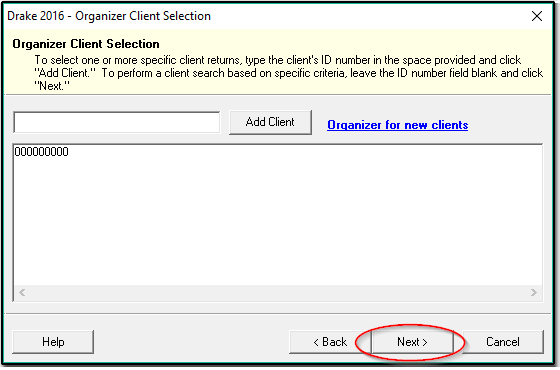
5. Click Next.
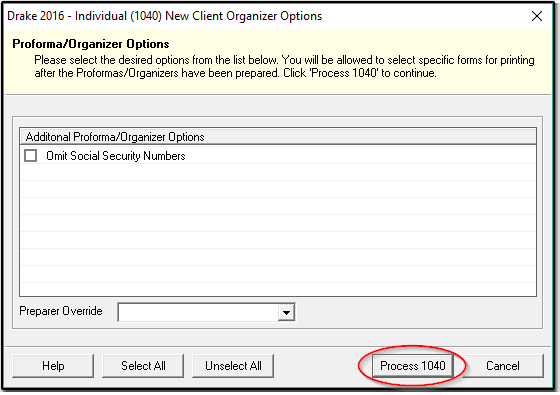
6. Check the box Omit Social Security Numbers to prevent the SSN (or all zeros) from showing on the organizer. Click Process 1040.
7. Select the options Save document(s) to Drake Documents, and Generate fillable PDFs.
8. Select Print.
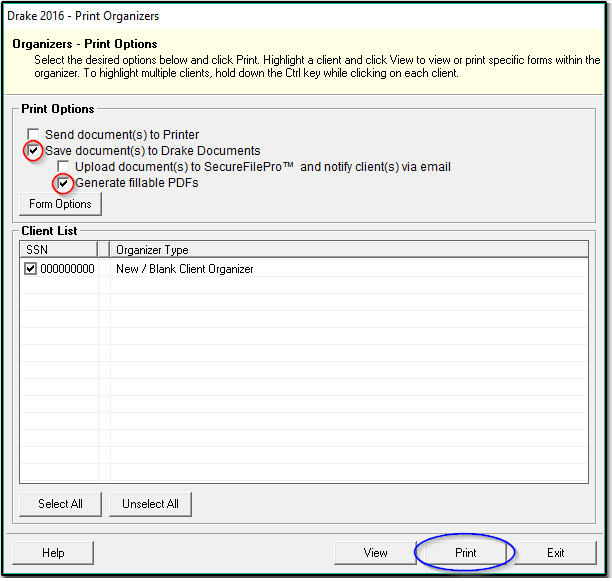
9. Once the fillable PDF has been generated, you will be asked to save the document to your computer. Even though Save to Drake Documents is selected, the file will not automatically save to Drake Documents as the new client is not in the software and has no folder yet. Another location will need to be selected.
10. You can then send the PDF by email or upload it to Drake Portals.
On a scale of 1-5, please rate the helpfulness of this article
Optionally provide private feedback to help us improve this article...
Thank you for your feedback!